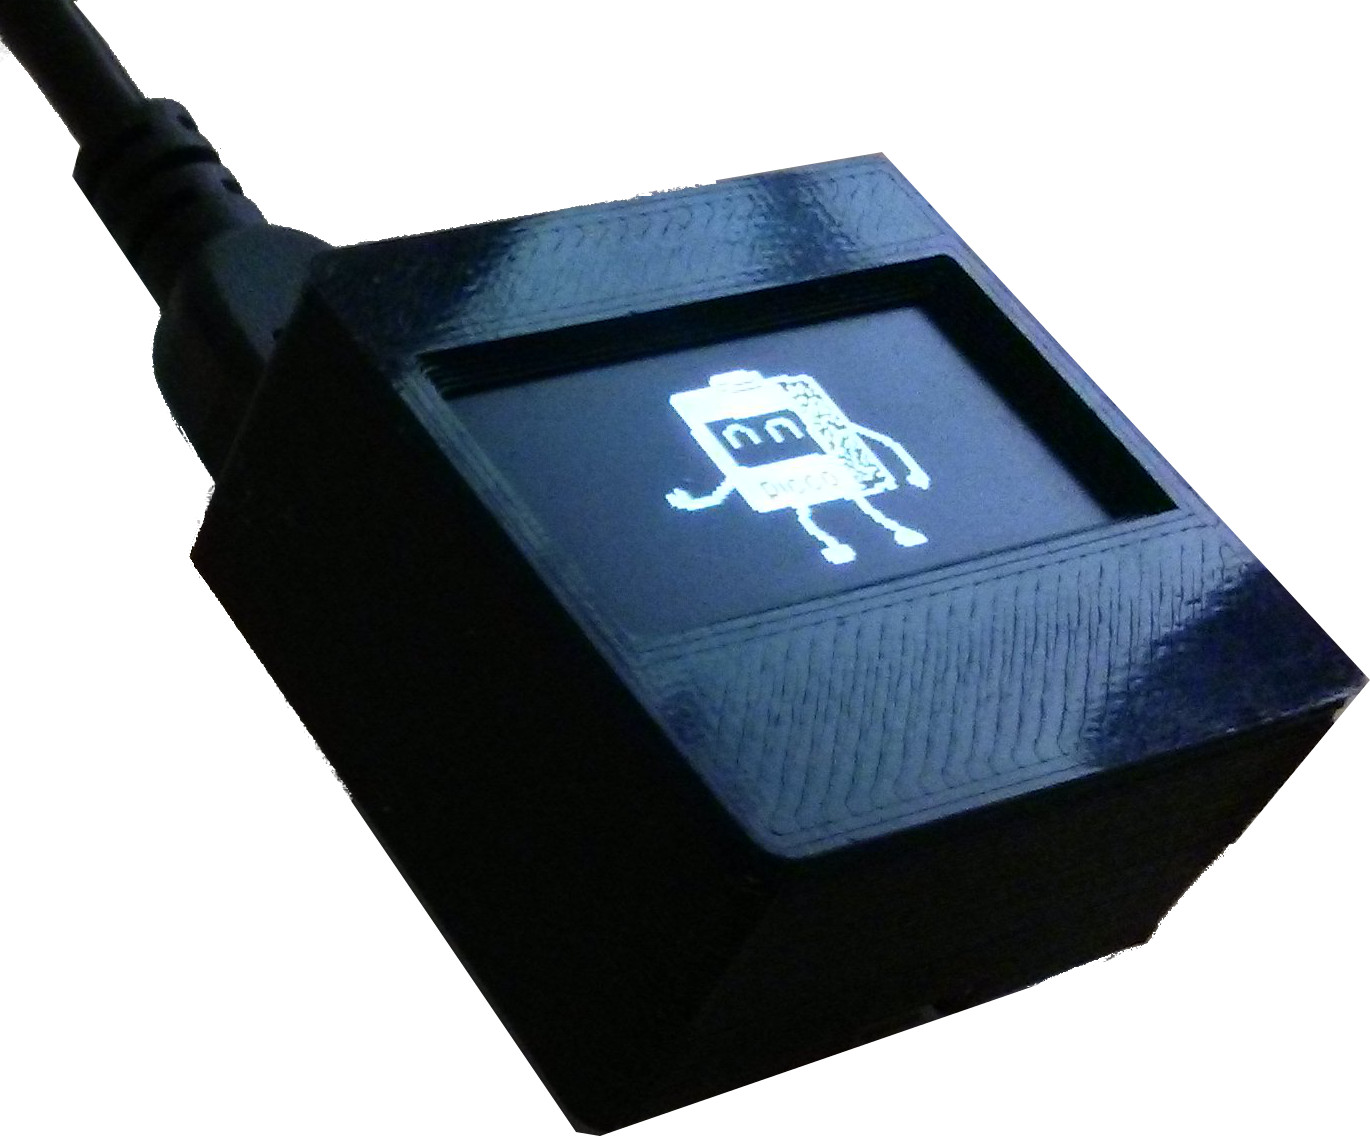
If you haven’t already, check out my getting started with Piccolino post. This post follows on from there, and outlines how to convert a Bitmap image, and display it on the Piccolino.
Looking at the code included on the Piccolino, I noticed a simple bitmap rendering routine. Here is the core functionality extracted and documented:
The comments in this snippet indicate a few requirements:
- Each pixel is represented by a single bit with a value of 1 for white and 0 for black pixels.
- The function assumes 8 pixels compressed into each byte. This helps to reduce the size of the data that makes up the image.
- Pixels are expected to be compressed horizontally. The orientation of the 8 pixels in each byte is expected to be horizontal rather than vertical.
- The image must have a width that is a multiple of 8. This is because there are 8 pixels per byte horizontally arranged.
The Piccolino display
- The display on the Piccolino is an OLED display.
- Its dimensions are 128 pixels wide, and 64 pixels high.
- The coordinate system has (0,0) in the top left corner of the screen.
A single image
To keep things simple we can start with a single image. Use your favorite image manipulation tool (I used The GIMP) to convert this into a black and white image. We will use a tool to convert this into a char array for use in our Piccolino program. Then we can copy this into our source code and call the draw method.

- Get a black and white image ready to go.
- Download and extract the conversion tool LDC assistant
- Run LCDAssistant and open the
*.bmpthat you wish to draw from your Piccolino program.File -> Load Image- You should see your image in the preview.
- Check the make sure the settings meet the expectations of our draw function:
- Byte orientation horizontal
- Size should match your image automatically
- Size endianness Little
- Pixels/byte 8
- Table name <name of the variable to use> in our example we used
t1
- Save this as a new file in your program directory, eg
image.hFile -> Save Output- Putting it in your program directory will make the file part of your Arduino IDE project.
- Reopen your Arduino IDE project and note that the new file
image.his included. - Add a
#includefor the new headerimage.h. - In the
image.hfile ensure thatPROGMEMprefixes your variable definition. This is required to ensure that the data is put in the right part of memory. EG:PROGMEM const unsigned char t1 [] = { - In your
program.inofile, there will be a loop function. Make sure to clear the display withdisplay.clear(). This will make sure that anything that was displayed in the last loop is removed. - Call
drawBitmap(/*imgLeftPos*/ 0, /*imgTopPos*/ 0, t1, t1_width, t1_height); - Internally
drawBitmapcallsdisplay.update()this makes the device update with any modifications made.
If you run this now, the image you selected should be shown in the top left corner of the screen. This should be enough to get you started with displaying images. If you would like a complete example, see my Github.
